DTF Transfers for Beginners opens a simple, cost-effective path to personalized apparel and home textiles. If you’re just starting out, this guide provides a clear roadmap with the right tools, materials, and practical tips to avoid common missteps. You’ll learn what DTF transfers are, what you need to get started, and how to achieve durable, vibrant designs on a range of fabrics. By following a straightforward workflow and using high-quality DTF transfer films, you can build confidence from your first projects. With these basics, you’ll begin selecting fabrics that will deliver reliable adhesion and vivid colors.
Expanded terminology helps beginners and search engines alike. In practice, the same technique can be described as a textile transfer process using pigment inks and a bonding powder on a separate film, followed by heat application. If you’re exploring options, phrases such as DTF printing workflow, DTF transfer films, heat press settings for DTF, and fabrics compatibility for DTF appear across guides to address common questions. Understanding fabric types for DTF — from cottons and blends to polyesters — helps tailor temperature, pressure, and cure times for durable results. As you grow, you can move from single-design projects to multi-layer runs by refining your setup, workflow, and quality checks.
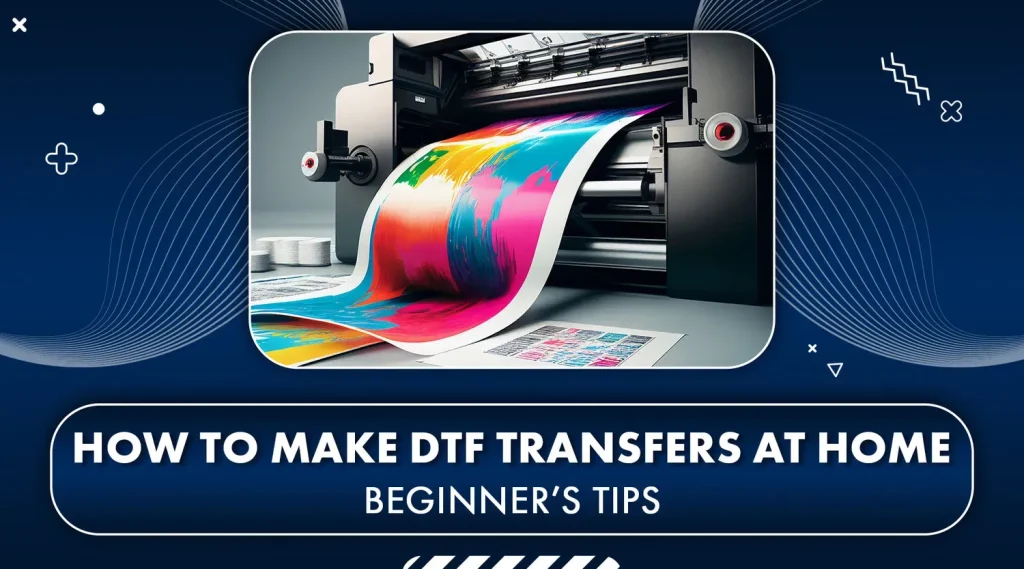
DTF Transfers for Beginners: A Clear Path to Quick, Durable Custom Designs
DTF Transfers for Beginners opens a simple, cost-effective doorway into creating personalized apparel and home textiles. With the right roadmap, you can move from curiosity to confident production, using a straightforward workflow that emphasizes quality transfer films, reliable printers, and a dependable heat press. As you explore DTF printing, you’ll discover how a clear sequence—from design to final transfer—helps you deliver durable, vibrant results even on your first projects.
This journey centers on practical choices: selecting beginner-friendly tools, understanding how DTF transfer films interact with fabrics, and applying consistent heat press settings for DTF. By grounding your practice in solid fundamentals, you limit missteps and begin building repeatability into every run, ensuring the designs you print withstand repeated washes without fading or cracking.
Choosing the Right Tools: Printers, Films, and Heat Press Settings for DTF
A reliable starting kit for DTF printing includes a printer capable of handling textile inks, compatible with DTF transfer films, and a heat press with steady temperature control. The goal is to establish a predictable workflow where color accuracy and edge sharpness are consistent across projects. Pairing quality transfer films with the right underbase materials can significantly influence the final look, especially when printing on darker fabrics.
Beyond hardware, focus on the consumables: test different DTF transfer films, curate a mindful powder adhesive routine, and maintain clean working conditions to prevent dust or fibers from compromising the transfer. Fine-tuning heat press settings for DTF—such as temperature, dwell time, and pressure—helps you achieve reliable adhesion and durable finishes, while simple workflow checks keep the process repeatable and scalable.
Mastering Fabric Types: Fabrics Compatibility for DTF and Fabric Types for DTF
Understanding fabrics compatibility for DTF is essential for predictable outcomes. Cotton and cotton blends are forgiving and typically deliver bright, durable results, while polyester and poly-blends can yield bold colors with careful adjustments to heat and curing times. The choice of fabric influences how the image adheres, how the ink sits on the surface, and how the transfer behaves under movement and washing.
Exploring fabric types for DTF helps you tailor your approach to each project. Dark fabrics often require a white underbase to preserve vibrancy, whereas light fabrics may perform well with minimal underbase. By aligning your fabric choices with your transfer films and curing routines, you can ensure consistent color fidelity and long-lasting prints across a wide range of apparel and home textiles.
From Design to Transfer: A Step-by-Step DTF Printing Workflow
The design phase sets the foundation for success in DTF printing. Create or select artwork with clean vectors or high-resolution rasters, reserve white areas for the underbase if needed, and mirror or flip the image for printing so the final transfer reads correctly on fabric. This stage leverages the principles of DTF printing to optimize color accuracy and minimize bleeding when printed on the transfer film.
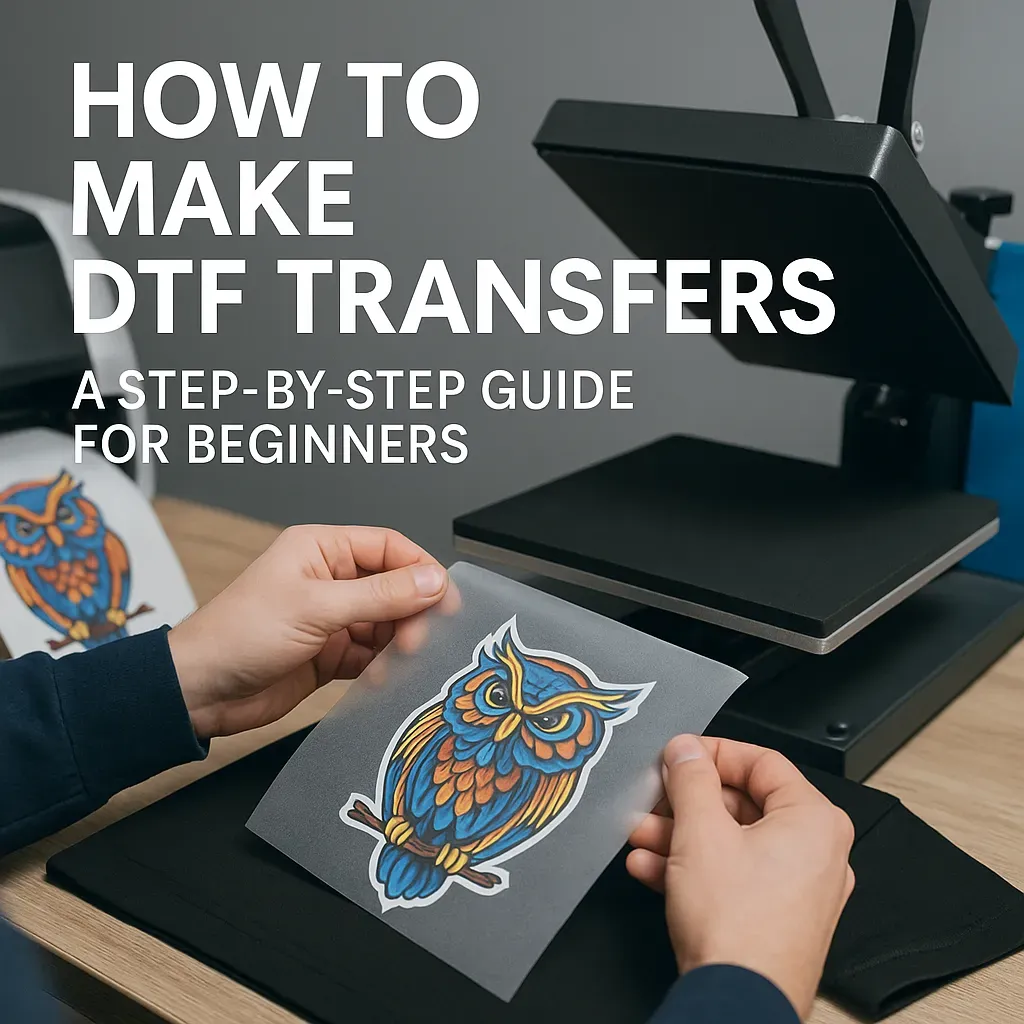
The workflow continues with printing onto the DTF transfer film using pigment inks, applying an evenly dusted layer of adhesive powder, and curing the powder to fix it for transfer. After laying the film on the garment, use protective sheets and controlled heat press settings for DTF to ensure complete adhesion. Finally, peel the carrier at the right moment and perform any finishing presses to secure edges and achieve a durable, professional result.
Care, Troubleshooting, and Scaling Your DTF Projects
Post-press care is essential for long-term durability. Turn garments inside out, wash with cold water, and avoid harsh detergents that can degrade the print. Drying methods and occasional low-heat re-pressing help maintain the crispness of the design over time, especially on fabrics that experience frequent washing.
As you scale from hobby projects to small runs or a beginner business, establish a repeatable workflow that includes pre-print checks, powder handling, and standardized pressing parameters. Common issues like halos, edge cracking, or color shifts become manageable with systematic troubleshooting and careful calibration of printer profiles, film thickness, and heat press temperatures, ensuring reliable results across increasing volumes.
Frequently Asked Questions
What are DTF transfers for beginners and how does DTF printing work in this beginner-friendly workflow?
DTF transfers for beginners refer to a straightforward method of printing designs on a clear transfer film using pigment inks, then applying it to fabric with a heat press. The process typically includes printing on the transfer film, applying adhesive powder, curing, and pressing onto the garment; the result is a flexible, vibrant image on cotton, blends, and certain polyester fabrics. This beginner-friendly workflow uses a standard printer, DTF transfer films, adhesive powder, and a heat press.
Which fabrics are best for DTF transfers for beginners, and how do fabric types for DTF influence results?
DTF transfers work on many fabrics; cotton and cotton blends are forgiving with bright colors and strong adhesion. Polyester and poly-blends can deliver bold results but may need adjusted heat, pressure, and curing times to prevent cracking. Dark fabrics often require a white underbase.
What heat press settings for DTF should I use when working with DTF transfer films?
Follow the temperature and dwell time recommended by your film and ink suppliers; use a heat press with stable temperature control and even pressure. Pre-press garments to remove moisture, use protective parchment or silicone sheets, and maintain consistent dwell times to avoid scorching.
How should I choose DTF transfer films when starting with DTF printing as a beginner?
Choose high-quality DTF transfer films that deliver sharp edges, vibrant color, and reliable adhesion. Start with starter packs to compare thickness and powder compatibility; ensure the film works with your printer and inks. Test prints help dial in color, workflow, and edge clarity.
How can I assess fabrics compatibility for DTF to ensure durable transfers on common fabric types for DTF?
Understanding fabrics compatibility for DTF is essential; start with cotton and blends, then experiment with polyester by adjusting heat, pressure, and curing times. Dark fabrics typically require a white underbase to keep colors vibrant; always test on representative fabrics before larger runs.
| Topic | Key Points |
|---|---|
| Introduction |
|
| What are DTF transfers for beginners? |
|
| Essential tools and materials for DTF transfers for beginners |
|
| Choosing the right materials |
|
| Step-by-step beginner guide: from design to finished transfer |
|
| Fabric types and care considerations |
|
| Tips for beginners to achieve perfect results |
|
| Common issues and troubleshooting for DTF transfers for beginners |
|
| Post-press care and long-term durability |
|
| Scaling up for a beginner |
|